
PDF & File Management Guidelines
Please note: This web page is dedicated to making PDFs on websites accessible to meet the Department of Justice digital accessibility mandate and Section 504 of the Rehabilitation Act. There are other web accessibility basics and requirements, such as use of proper headings, alt tags and link text.
Access general web accessibility requirements.
New requirements for PDFs and file management are now in effect. All digital content on Kent State websites must meet compliance standards this includes web pages, uploaded files and most external sites to which we link.
What’s Changed
- The U.S. Department of Justice (DOJ) has issued a ruling extending the compliance deadline for the ADA Title II web and mobile application accessibility requirements by one year, to April 26, 2027.
- The Department of Health and Human Services also extended the compliance deadline for Section 504 web and mobile application accessibility requirements by one year. This extension aligns the Section 504 requirements with the recent Interim Final Rule by the Department of Justice that extended ADA Title II web and mobile application accessibility requirements by one year.
What This Means for Kent State
The new deadline for ADA Title II digital compliance for Kent State is April 26, 2027.
As Kent State is already responsible for ensuring digital accessibility under University Policy 4-16, we will continue to make progress on making our online materials accessible for our community.
University Policy 4-16, we will continue to make progress on making our online materials accessible for our community.
Manage and Remediate Your Files
Once you've identified which files to keep, delete or remediate, you'll need to follow the proper processes to ensure everything is handled correctly. The sections below cover the essential procedures for file management and accessibility compliance.
Strategy & Policy
Start here to understand the goal and the rules.
Auditing Your Content
Choose the audit method based on where your file lives and/or your pages may link.
-
www.kent.edu: Audit 'File' Content Types
www.kent.edu: Audit 'File' Content Types
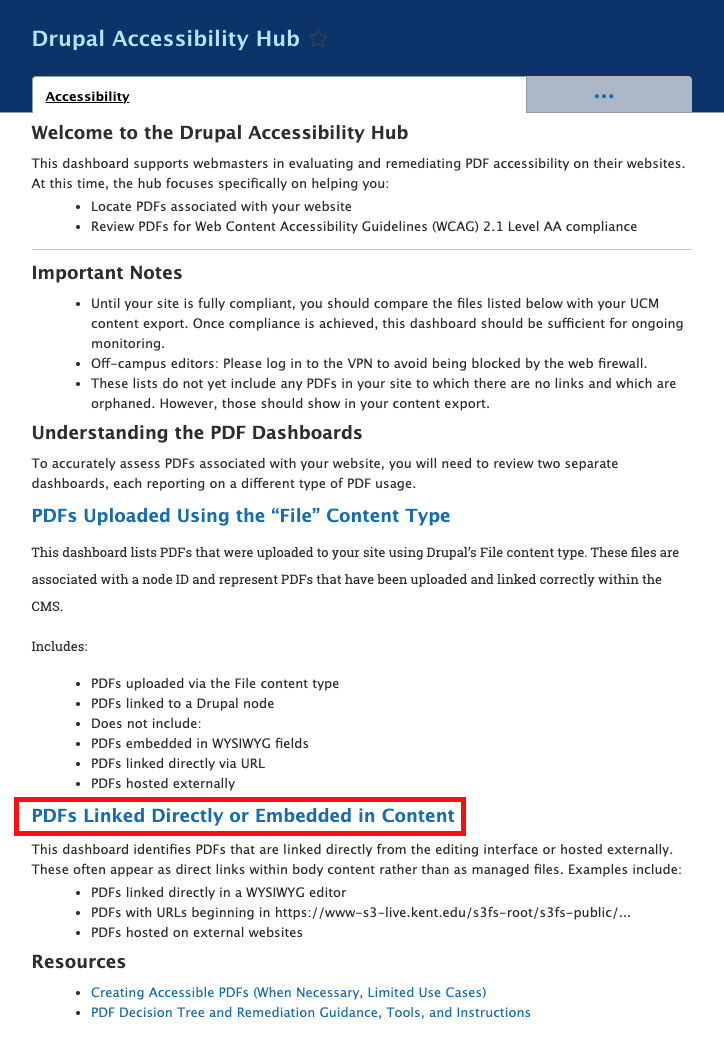
The Accessibility Hub provides two ways to track and audit PDFs on your site:
PDFs uploaded using the 'file' content type — These are PDFs properly uploaded through Drupal's File content type and linked to a node ID. This is the recommended approach and what this tutorial covers.
PDFs linked directly or embedded in content — These are PDFs that were linked directly in WYSIWYG editors or hosted externally (often appearing as
https://www-s3-live.kent.edu/s3fs-root/s3fs-public/...URLs). A separate dashboard tracks these files.This tutorial focuses on auditing PDFs uploaded using the file content type.
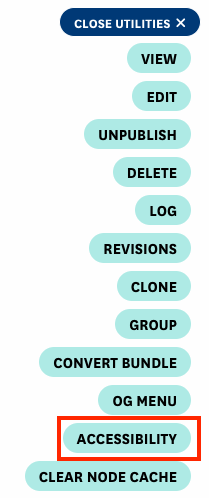
Navigate to your group's homepage and click the Open Utilities button.

From the utilities pop-up menu, select Accessibility.
You'll be directed to the Drupal Accessibility Hub for your group. Click on the "PDFs uploaded using the 'file' content type" link.
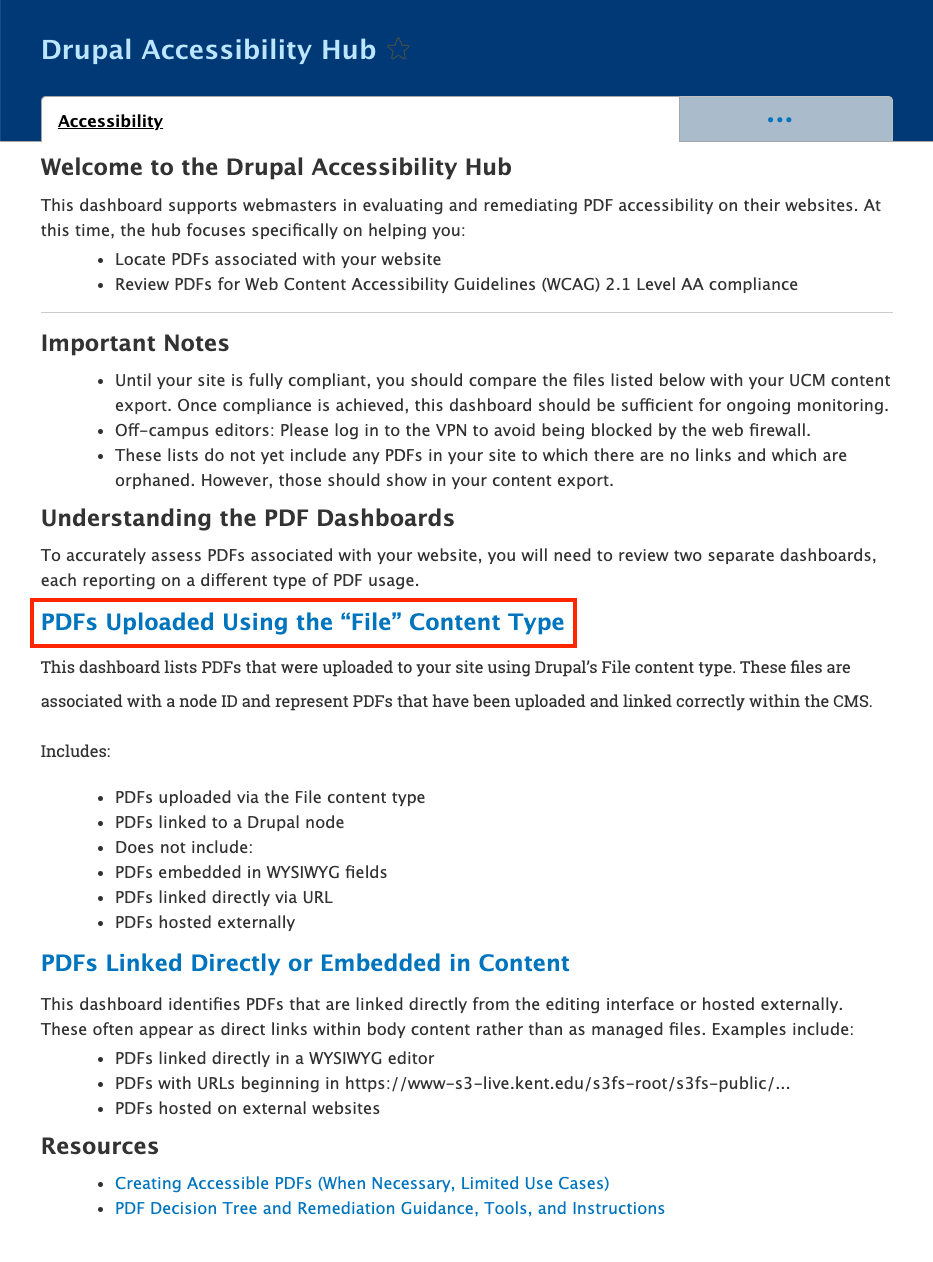
You'll see a table listing all PDF files created using the "file" content type. Each row displays the node ID (links to the edit page), filename, and an Audit PDF link. Once a PDF is audited, results appear in the Summary column.
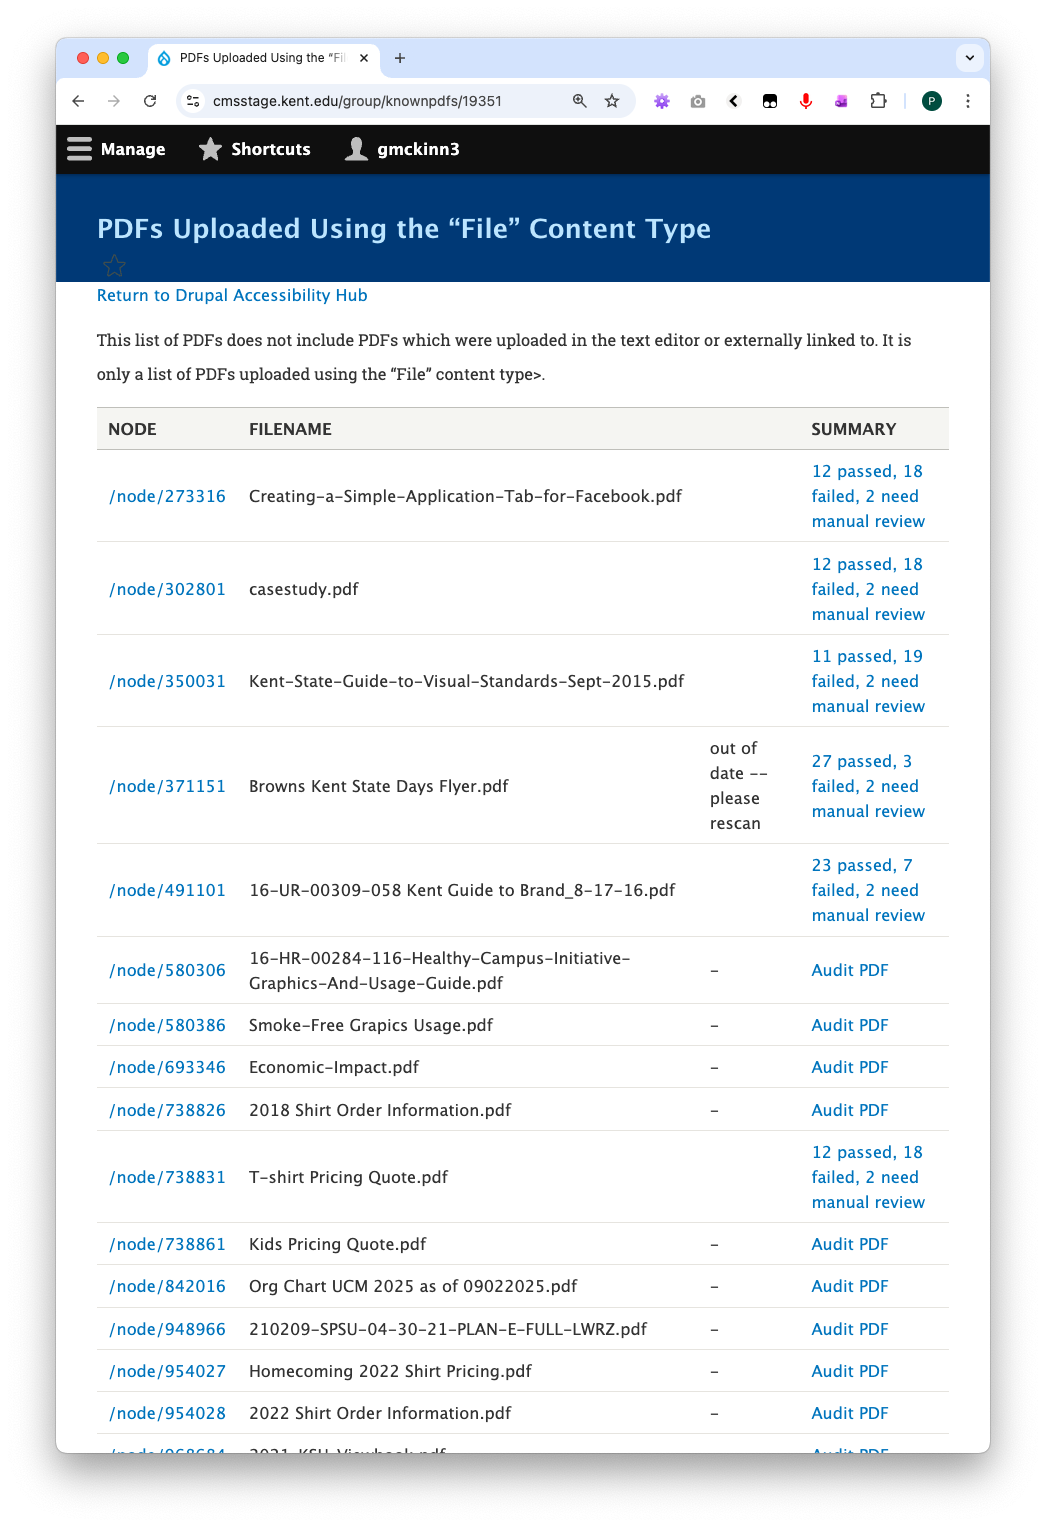
Select a PDF and click Audit PDF.

On the Audit PDF page, if no accessibility report exists yet, you'll see a message indicating this.
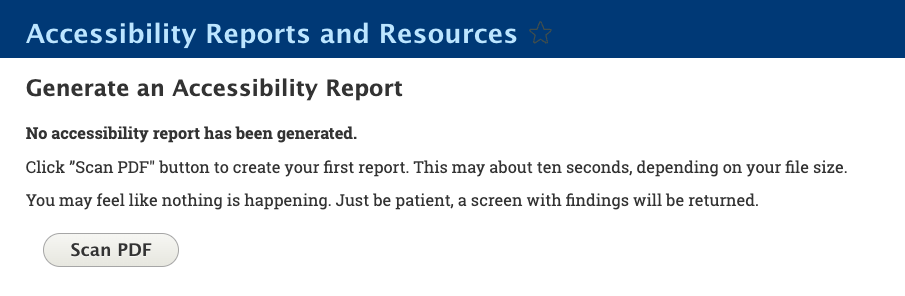
Click the Scan PDF button to generate a new report. Report generation typically takes several seconds depending on file size.
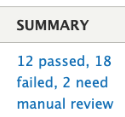
After scanning, results display in a table showing only issues that need attention. Failed tests and manual checks required are flagged for your review. Passed tests are not displayed in the table.
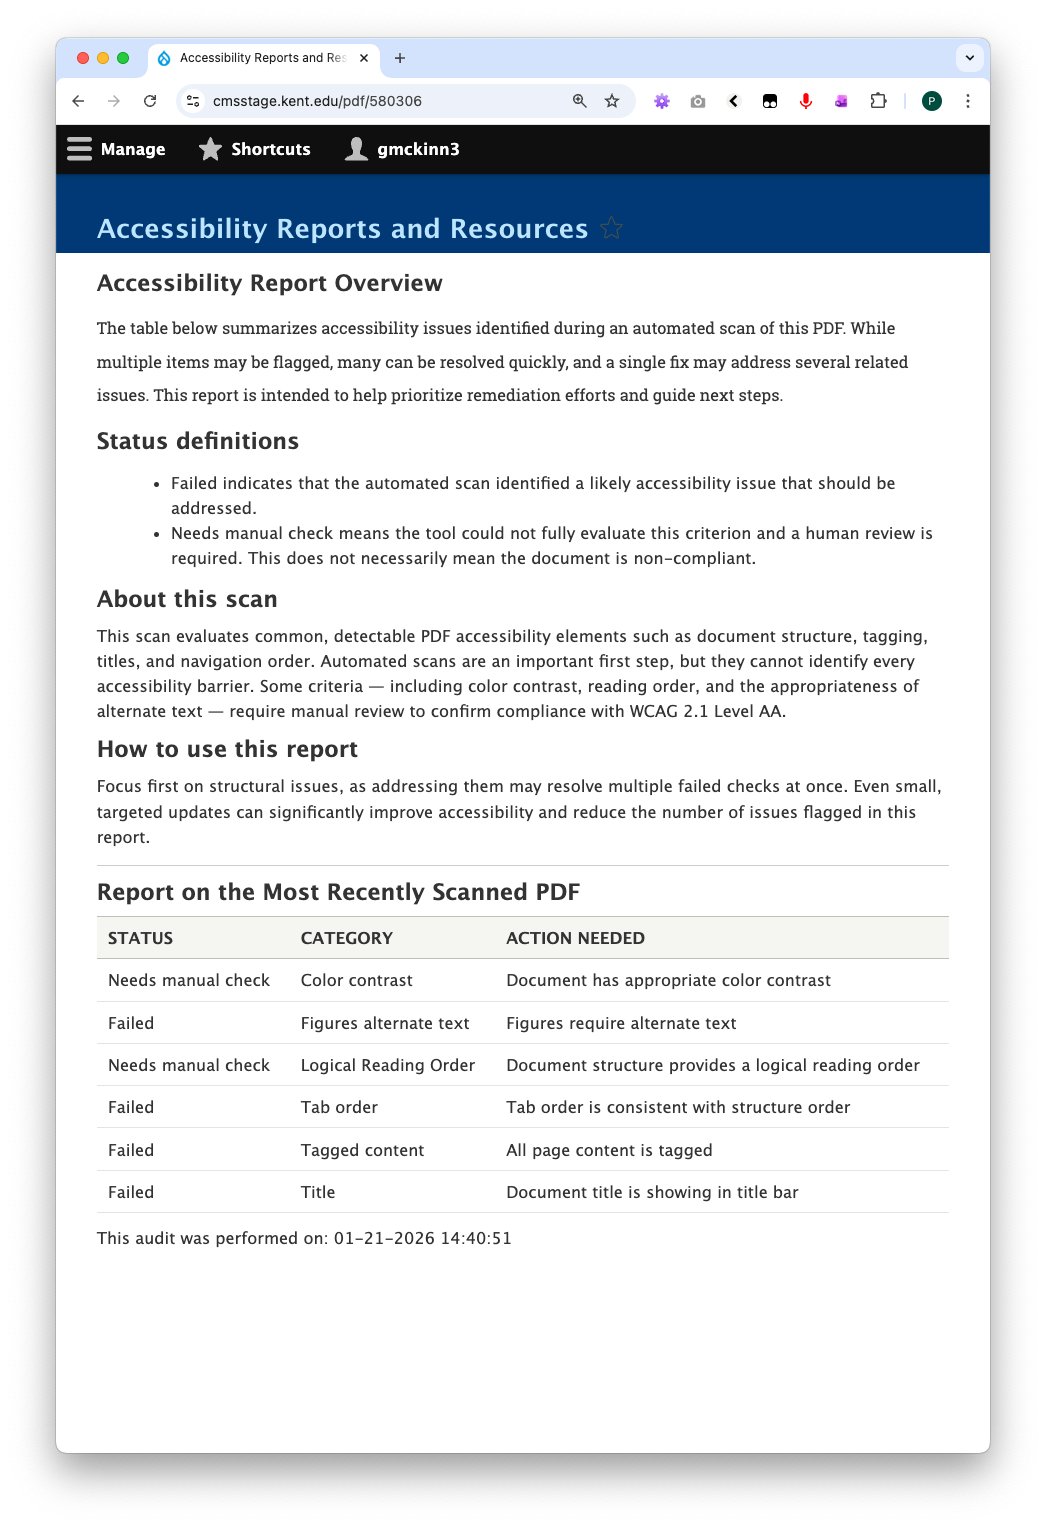
When you return to the PDF files table, scan results appear in the Summary column. Click any summary link to view the full report.
To update a PDF: Click the node ID link in the first column to access the edit page, upload the corrected PDF file, and return to the PDF files table. You'll see a notification that the audit is out of date. Click Audit PDF again to generate a new scan with the updated file.
-
www.kent.edu: Audit Direct & Embedded Links
www.kent.edu: Audit Direct & Embedded Links
The Accessibility Hub provides two ways to track and audit PDFs on your site:
PDFs uploaded using the 'file' content type (separate tutorial) — PDFs properly uploaded through Drupal's File content type and linked to a node ID. This is the recommended approach for new uploads.
PDFs linked directly or embedded in content — These are PDFs that were linked directly in WYSIWYG editors or hosted externally (often appearing as
https://www-s3-live.kent.edu/s3fs-root/s3fs-public/...URLs). This tutorial covers how to audit these files.This tutorial focuses on auditing PDFs linked directly or embedded in content.
Navigate to your group's homepage and click the Open Utilities button.
From the utilities pop-up menu, select Accessibility.
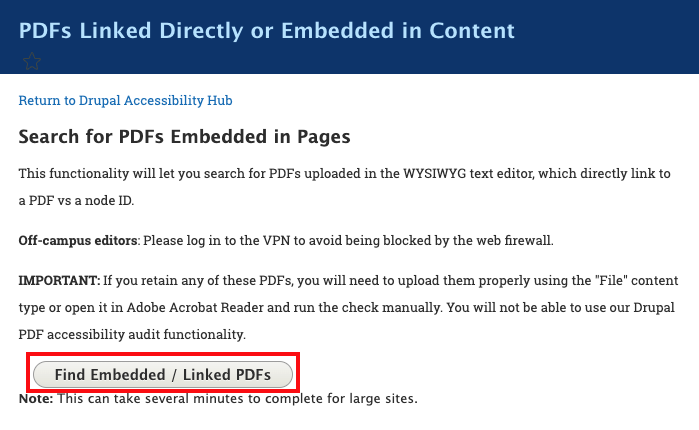
You'll be directed to the Drupal Accessibility Hub for your group. Click on the "PDFs Linked Directly or Embedded in Content" link.
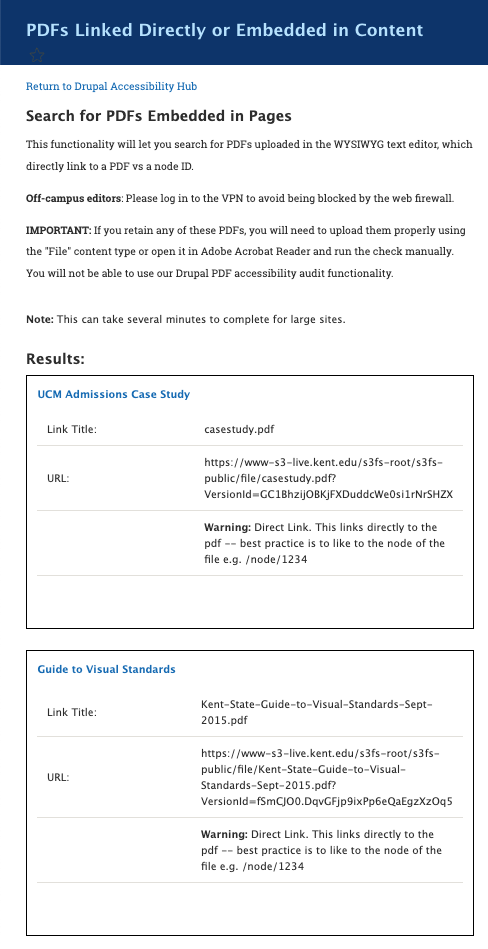
- On the next page, click Find Embedded / Linked PDFs
- Wait for the processing to complete
- Once complete, you will see a listing of all such PDFs on your site.

Remediation & Maintenance
Take action on the files you found.
-
How to Convert a File to File Archive
How to Convert a File to File Archive
From your content export or your group's accessibility dashboard, find a link to a specific File content type that needs archived and follow these steps.
To convert a File to a File Archive, click on the Open Utilities.

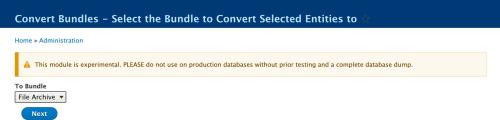
Select Convert Bundle.
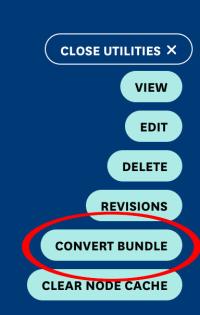
Confirm that the convert option says File Archive then click Next.
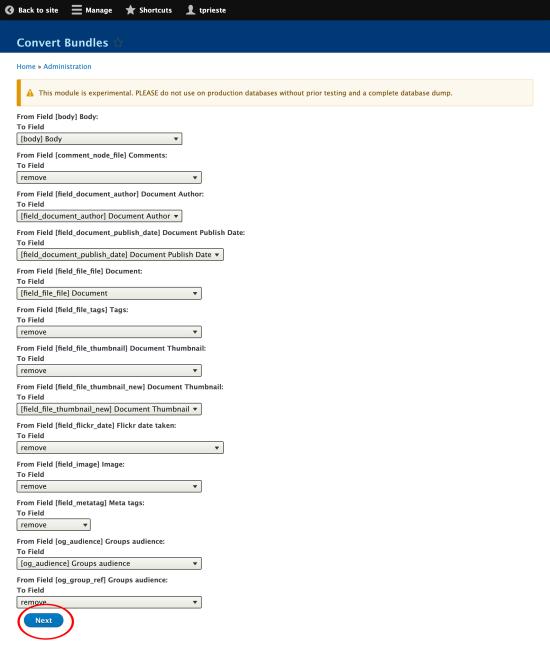
On the next screen, scroll past the field mapping section. All relevant fields should be mapped correctly by default. Click Next at the bottom of the page.
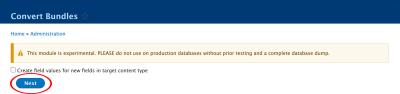
Do not check the box to create values where there were no values on the previous File. Click Next again.
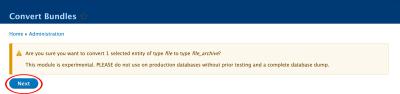
Confirm that you would like to start the conversion to the File Archive content type. Click Next a final time.
Once the initialization screen appears, you may close or navigate away from the page. The process will finish before the status bar updates so you do not need to wait for the page to finish updating.
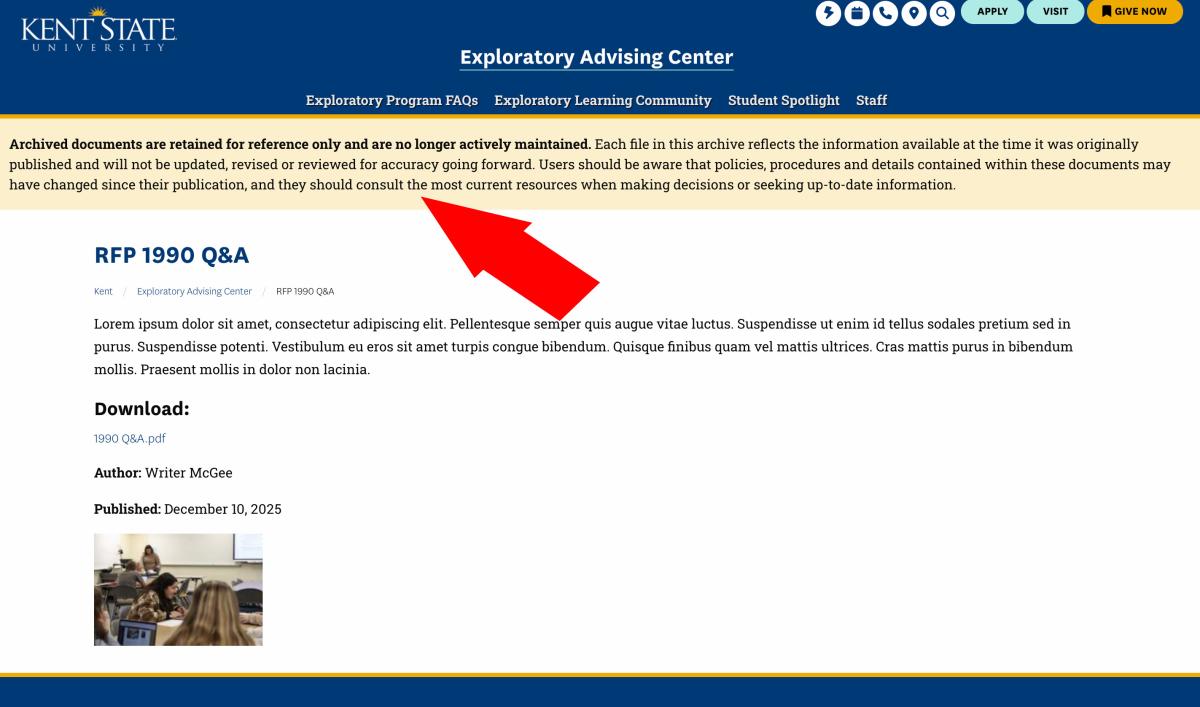
After a few minutes, if you return to the node URL, you will see that the conversion has taken place and that the File Archive message is now on the page.
- After conversion, the file's URL structure has changed — any existing links pointing to the old file path will now be broken. Update any links you are aware of, such as those in body content, navigation, or other nodes. To catch links you may have missed, use your Siteimprove Quality Assurance report to identify and fix remaining broken links across your site.
Still Have Questions?
If you need help with content exports, file organization, PDF remediation or converting documents to web pages, please submit a ticket.
Submit a Support Ticket Register for PDF Accessibility Working Sessions Learn to Make PDFS Accessible