
Taking the ALEKS Placement Reassessment with Respondus LockDown Browser + Monitor - How It Works
- Before reassessing, take the initial ALEKS placement assessment by logging in through your FlashLine account and selecting Student/Resources/Placement Assessments/Math.
- If it is determined that it is in your best interest to be proctored for reassessment, log back into ALEKS and work in the Learning Modules.
- Note: While not required, you are encouraged to achieve 80% mastery of the ALEKS pie chart topics.
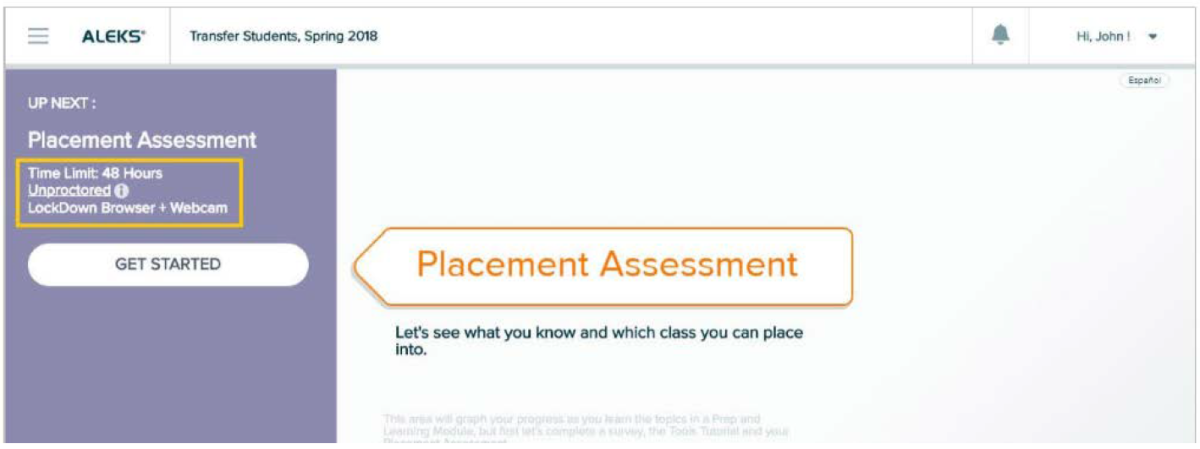
After you have worked in the ALEKS Learning Modules and you are ready to be proctored for reassessment, select Get Started. You will see an indicator that it must be taken with LockDown Browser + Monitor (Webcam):
- After selecting Get Started, you will arrive at the Introduction page. If you have not already downloaded the ALEKS version of LockDown Browser, you can do so with the link on this page.
- Be sure your Internet connection is stable.
- After you install LockDown Browser, reboot your computer and log back in.
- Once LockDown Browser is installed, select Launch LockDown Browser + Webcam to begin the Assessment.
LockDown browser will open, and you will be prompted to complete the Startup Sequence for Respondus Monitor (webcam).

- Follow the remaining sequence of steps before beginning the reassessment. You are not timed until you start the reassessment.
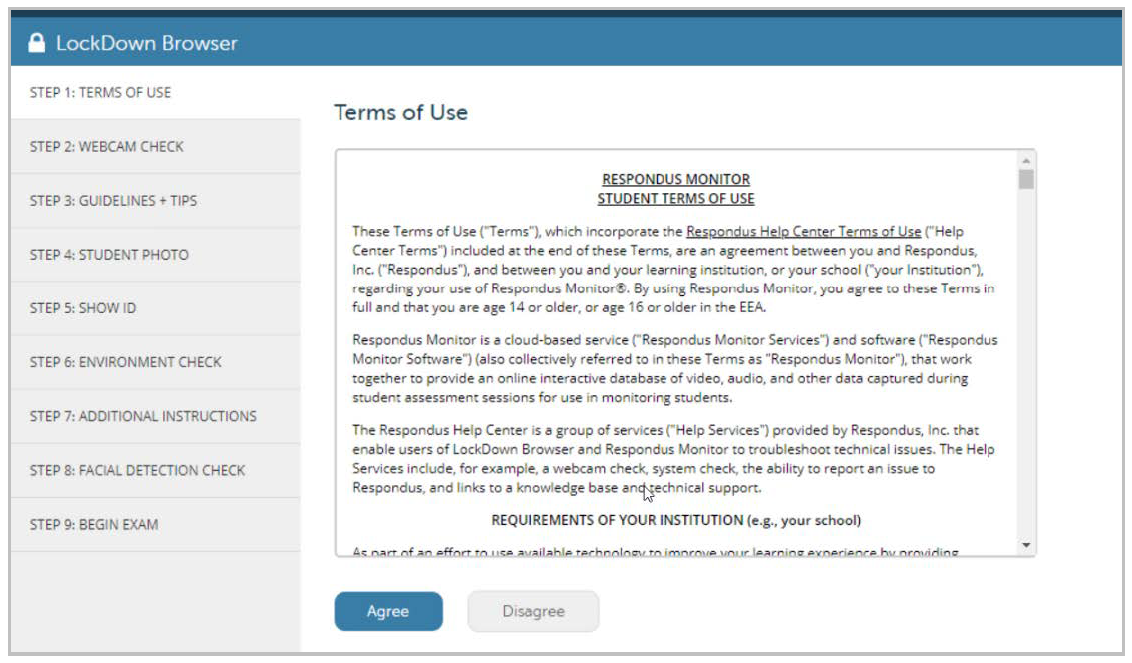
Step 1: In the Startup Sequence, you will agree to the Respondus Monitor terms of use:
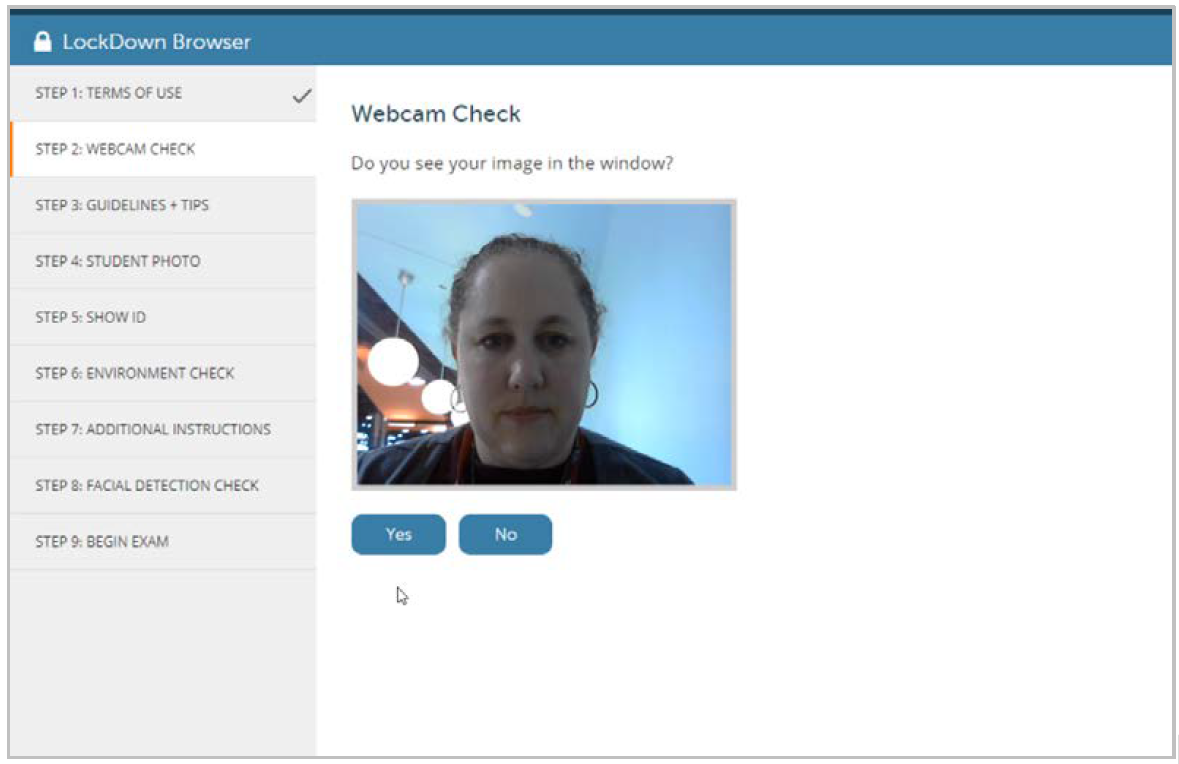
Step 2: Then, you will complete a webcam check:
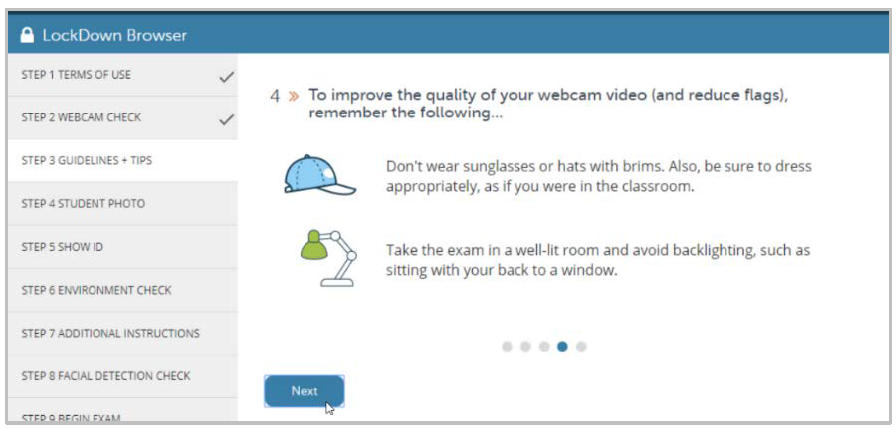
Step 3: Guidelines and Tips
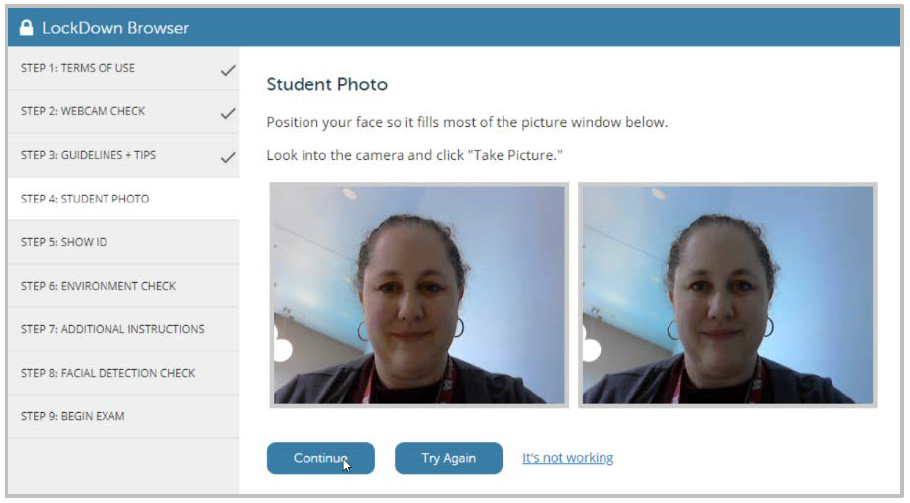
Step 4: Student Photo
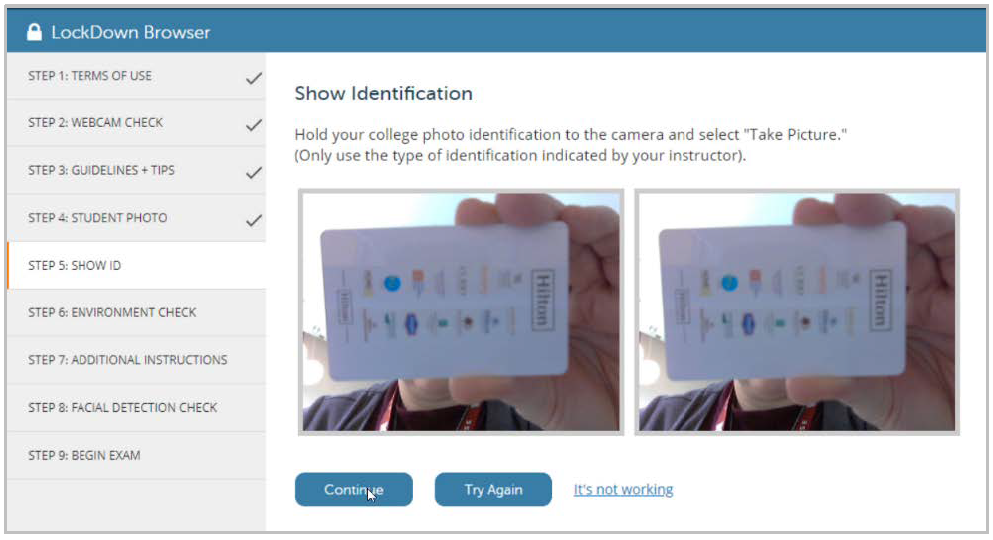
Step 5: Show ID – we will accept only government issued or KSU photo ID.
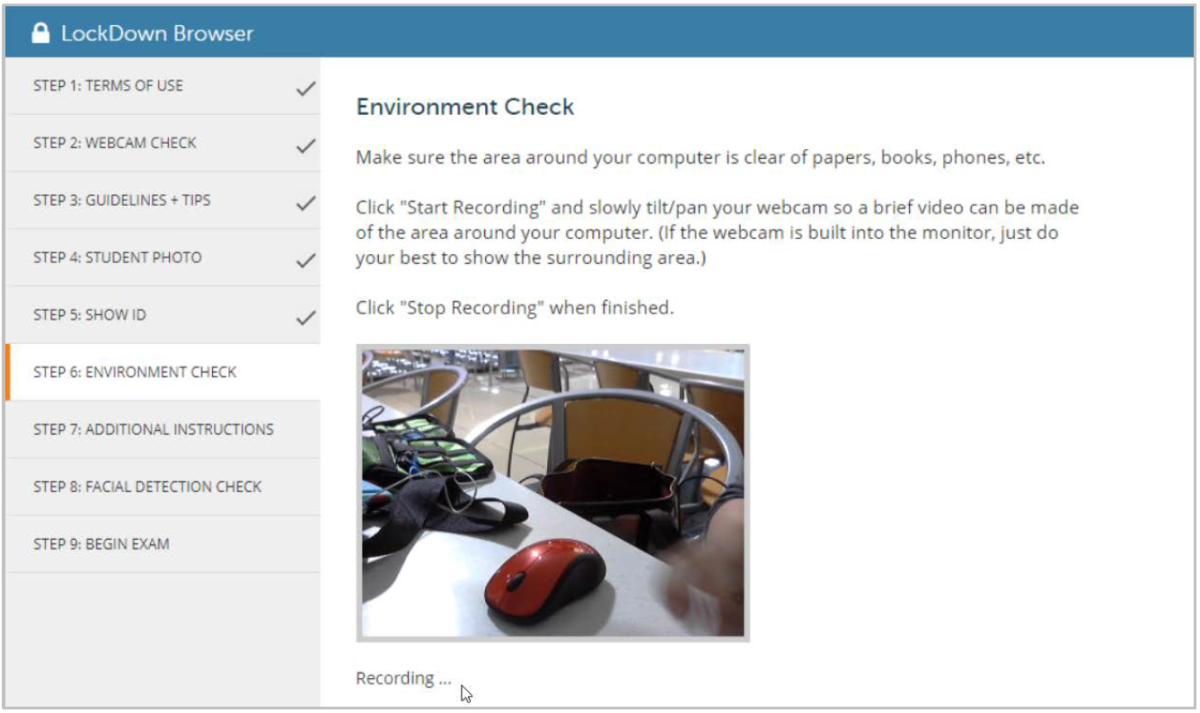
Step 6: Environment Check – make sure to show your desk/working space.
- Step 7: Additional Instructions – these instructions must be read. They are specific to Kent State University.
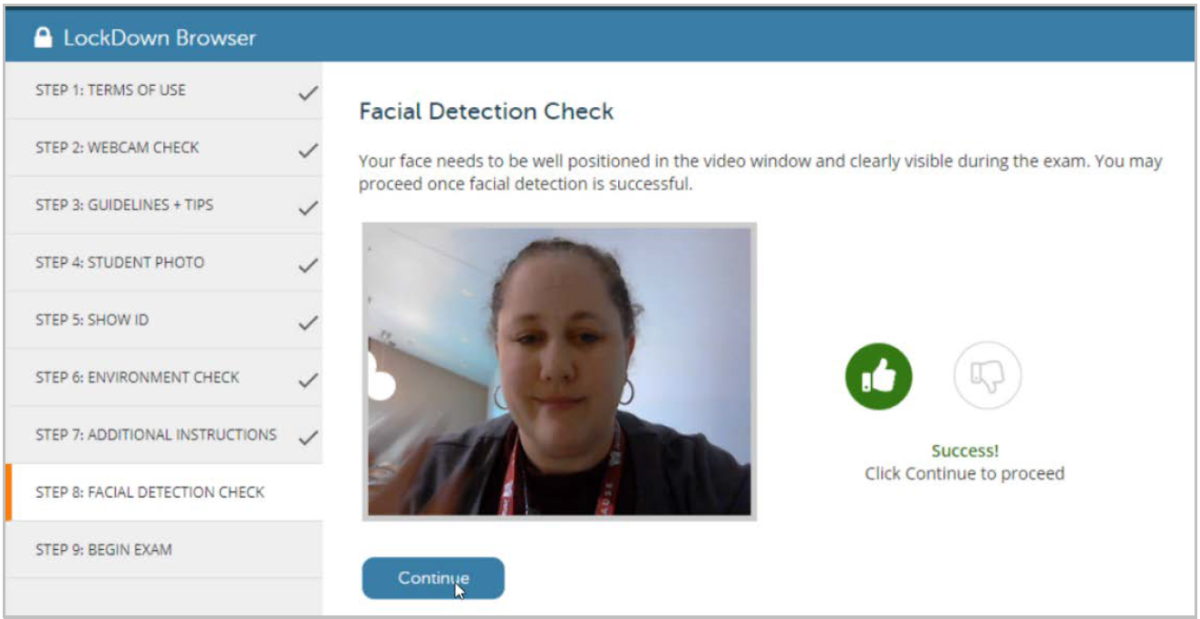
Step 8: Facial detection check
Step 9: Begin Exam - once you complete the Startup Sequence, you can begin your Placement Assessment. As you complete the Placement Assessment in LockDown Browser, an indicator that your webcam is recording displays in the top-right corner.

- If you have any difficulty with LockDown Browser or the webcam setup, ALEKS Student Technical Support is available at https://mhedu.force.com/aleks/s/alekscontactsupport by phone, email, or chat. ALEKS will provide technical support for the LockDown Browser and if necessary, they will contact Respondus for Monitor assistance.
- Otherwise, if for any reason you are unable to meet the requirements of these steps, contact your home campus testing center to let them know of your special circumstances.